Use the Global tab
The Global tab, in both the
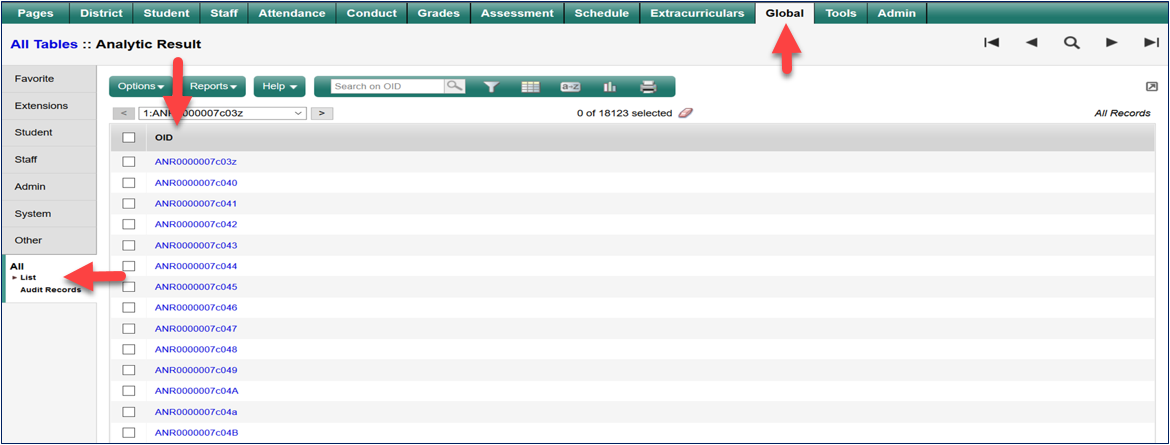
When you click List on the side-tab of a particular table, you get access to all the data stored on that table. Many of the tables will need to have the field set adjusted, as they often only show the OID of the record.
Important Tables to Know
Some tables give access to information that is used to manage Aspen.
-
Data Field Config Attribute table: Houses all the fields that are on every table and their associated attributes.
-
Data Table Config Attributes table: Houses all the tables in the Data Dictionary and their associated attributes.
-
Field Set table: Houses all the field sets that have been created in Aspen, whether they are owned by the
-
Field Set Member List table: Shows all the fields that have been added to a field set in Aspen.
-
Filter table: Shows all the filters that have been created in Aspen, whether they are owned by the
-
Query table: Houses all the queries that have been created in Aspen.
-
Grade Post table: Houses the record of when teachers have posted their grades for each section.
-
Gradebook Score table: Houses all grades in the Gradebook.
-
Forum Post table: Houses every post to a discussion forum on a page.
-
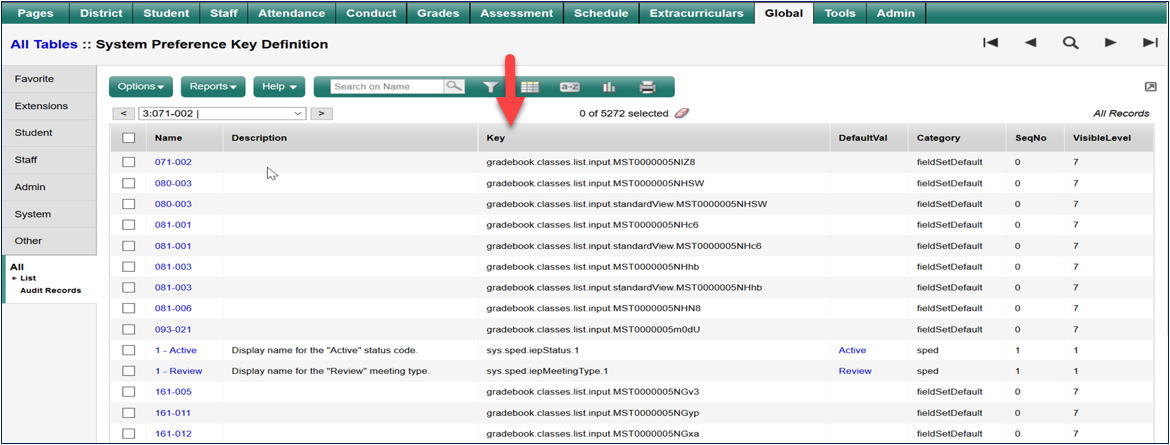
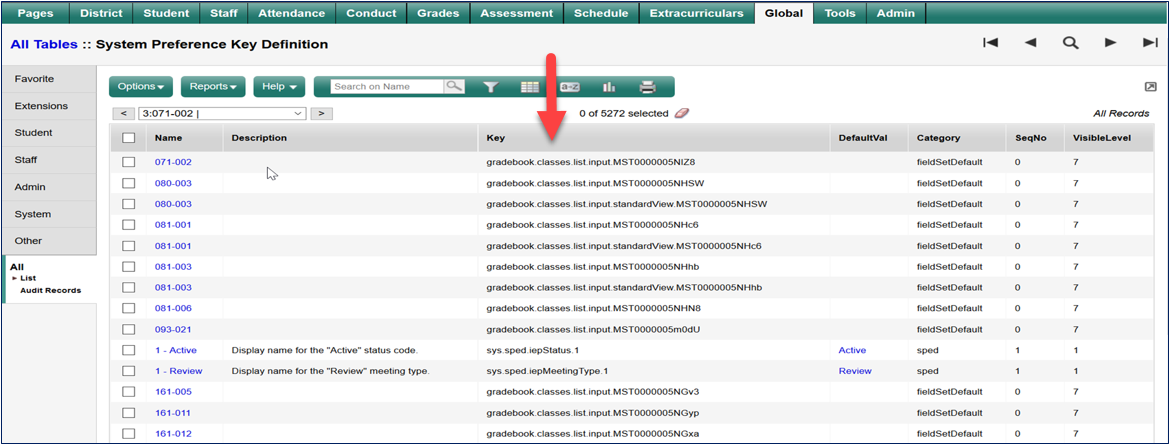
System Preference Key Definition table: Gives you access to all preferences in the system, and you can set a default value for each preference.
Setting a Default Preference Value
To set the default, you need to find the right Key for the preference you want to set.
To set a default preference value:
-
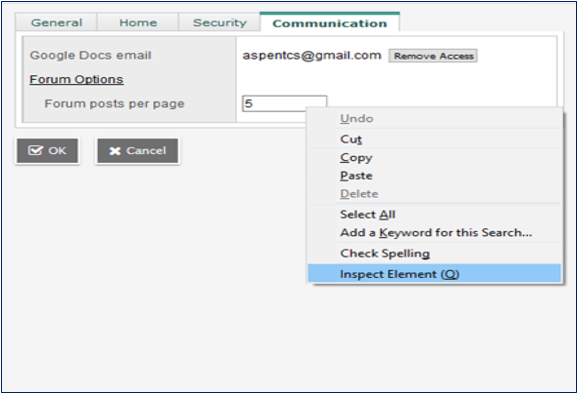
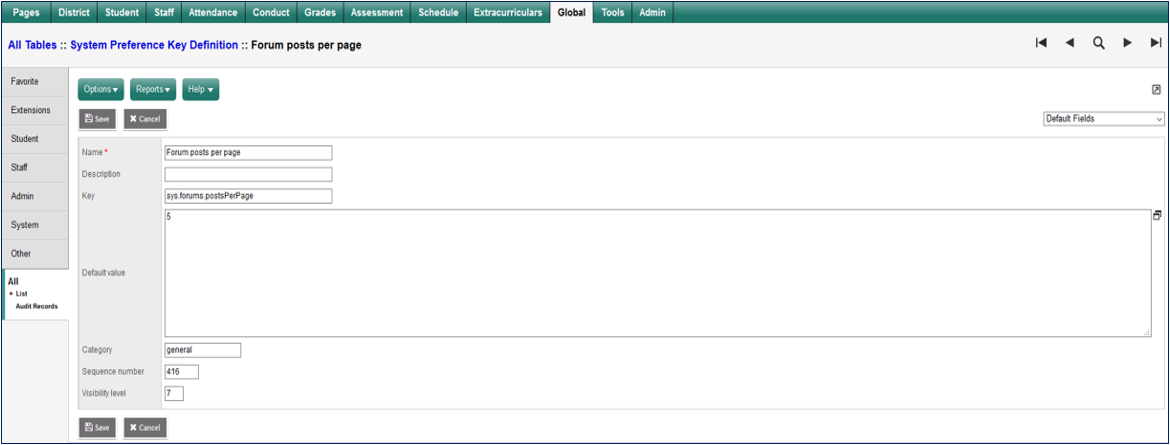
Go to that particular preference (in this example, Forum posts per page), and then click Inspect or Inspect Element (right-click on the field to see this option).
-
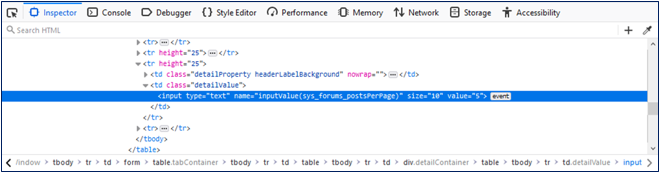
Copy the information in the inputValue field to search for the Key.
-
Go to the details page of the System Preference Key Definition table.
-
Sort on the Key column so you can search on this field.
-
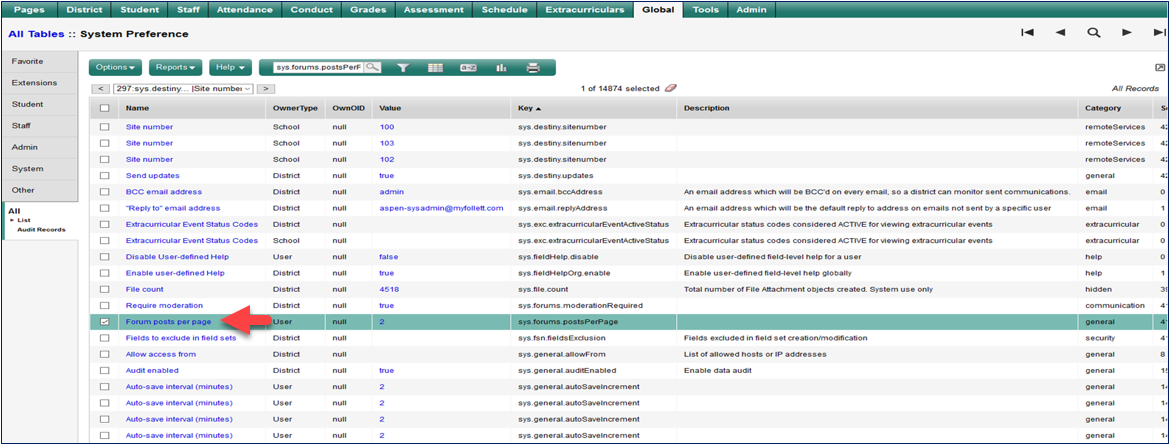
Paste the inputValue into the Search field, and replace the underscores with periods. For example, instead of sys_forums_postsPerPage, enter sys.forums.postsPerPage. When you search, it will find the preference.
-
Click into the details to set the Default Value for this preference.
Removing a User-Created Default Preference
The System Preference table gives you access to all user preferences that have been set.
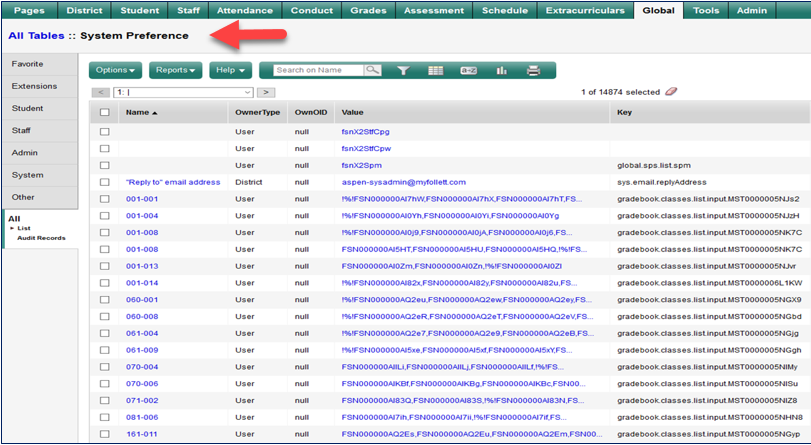
You may need to access this list if you want to set a default preference for all users, but some have already set it. You would need to remove all the user-set preferences for your preference to apply to all users.
To remove a user-created default preference:
-
Search on the Key to find the users with a setting that is different from the default.
-
Select and delete those records.
-
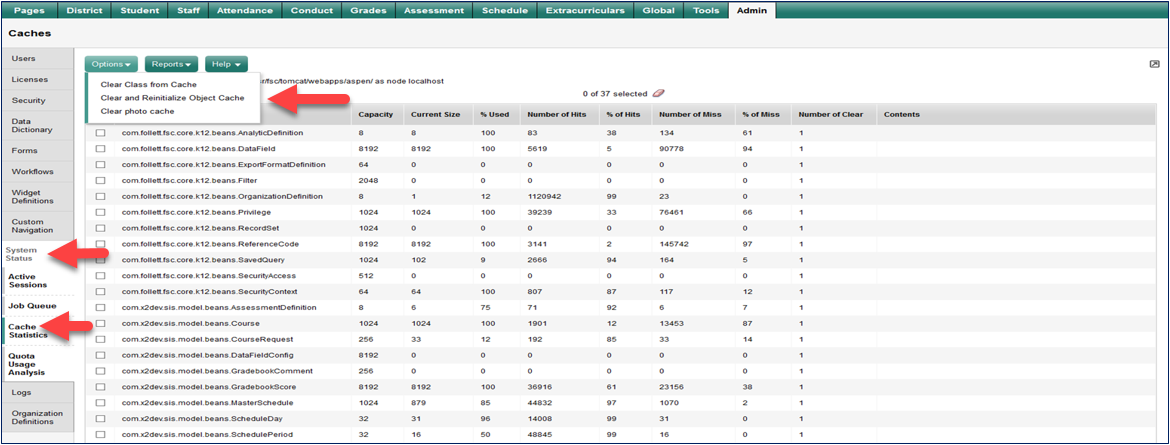
After deleting the preference, go to Admin > System Status, and then select Cache Statistics on the side-tab.
-
On the Options menu, select Clear and Reinitialize Object Cache to reset the user’s preference back to the default.
Running Quick Reports from the Global Tab
The Global tab, in both the
For example, you would like to find all the Teacher Course Recommendations that have been entered this year. Use either the Group report (to get totals and lists of students that have been recommended) or the Summary report (to get just the totals) for each course.
On the All side-tab, find the Student Course Request Adjustment table. This houses all the Teacher Course Recommendations. When you click List to go into the list of records on that table, you will see all the recommendations that have been created. You will need to filter to the appropriate year (the Build Year). Additionally, you may need to filter to the appropriate School Name, if you are in the
When you create a Group Quick Report, for each course you will see the list of students that have been recommended and the Totals below the list of students. The User > Name column shows the teacher that made the recommendation.
Another good candidate for creating a Quick Report is the Student Course Request Transaction table. It houses all the information about online course requesting, such as the posts and approvals, as well as notes for the counselor. You would need to filter to the appropriate year, as with the other table.